Not long ago I obtained some cyanotype chemicals from Bostick & Sullivan. With summer upon me and the pace of other activities slowing down, I was finally able to give the kit a try.
I started by gathering my supplies: a couple of images I wanted to print; negatives of those images; something to print them on; and a way to develop the prints.
You wouldn’t think that selecting a few images would be that difficult – after all I’m a photographer, I’ve got a million of them. I did have to pick something that I was willing to expose and develop several times over. I wanted to really practice my techniques and observe the changes and improvements by limiting my variables.
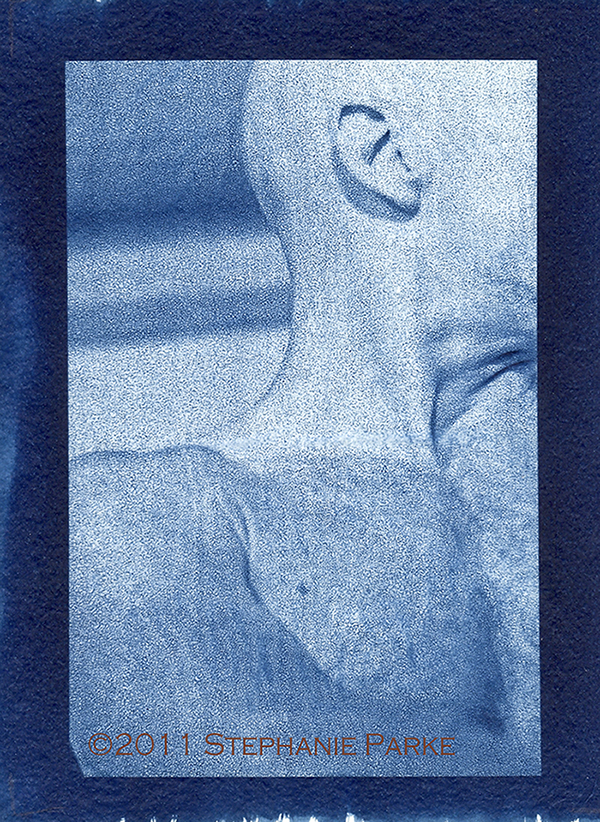
Next I needed to make my negatives. I made digital negatives by processing the images on the computer and ink jet printing them on overhead projector film. There are several resources to detail this process, so I’ll not get into it here. Instead, just a lesson learned. I used inexpensive OHP film, the kind you would find at an office supply store. The film had a lot of texture to hold the ink onto it. The texture of the film became keenly apparent in the print. It wasn’t a bad or wrong thing – it looked a bit like film grain. However, if the added texture was unacceptable, a higher quality OHP film would be needed.
When selecting what to print on, I considered what I had on hand. I used hot press watercolor paper and tracing paper. I used the watercolor paper because it was a safe place to start, and the tracing paper because I had a lot of it. The tracing paper provided more lessons. As I coated the paper it rippled under my brush. There was a lot of effort spent making sure the ripples were even and that the cyanotype solution didn’t puddle. Otherwise I would end up with a blotchy print.
I made several sun lit exposures until the coating, paper, and timing yielded consistent results. I learned that the tracing paper was very delicate when it was wet. Eventually I made a support for the paper so it could withstand the force of the running water used to develop the prints. When the print was bigger that the support I made, the thrashing the tracing paper took was evident. It wasn’t wrong, it was just another layer of texture.
So what did I learn from dabbling in blue? The cyanotype is a fairly simple process so there is room to experiment early on. Also, happy accidents can be good things especially if you learn how to replicate them.


